I have a set of MAC Pigments that I've bought ages ago during one holiday promo. I used them once in a while so until today they look like never been touched. The thing is, pigments are loose eye shadows that came in separate bottles so it is kinda difficult to bring them anywhere. All these while, I've been thinking of transferring all colours to one handy case so they're not wasted. Still, no action has been taken and those bottles were still left at home.
Few days ago I was itching to do something interesting and I somehow remembered about those pigments. At the same time, I also have a broken MAC lipstick that could not be used anymore after few attempts of repairing so I made a lil study on how to utilise it again and finally decided to make my own eye & lip palette, which was successfully done yesterday.
STEP 1: Line up the items
Items for the project:
- Broken lipstick
- Loose pigments
- A handy case (Bought the bead case at Daiso Sunway Pyramid)
STEP 2: Transfer lipstick
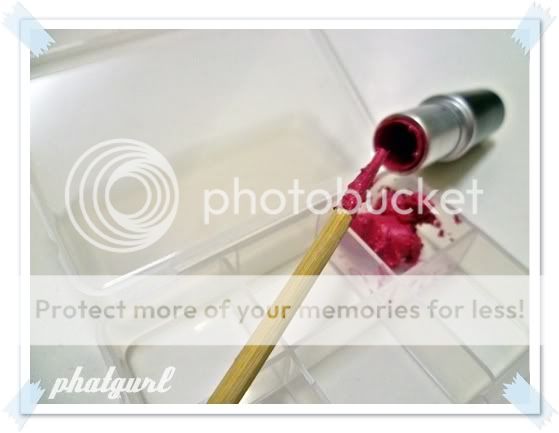
Transfer the broken lipstick into one of the compartment and scoop out any leftovers using any suitable tool. I used a wooden chopstick and it worked well.
STEP 3: Melt the lipstick
From my research, we could melt the lipstick by microwaving it for around 30-seconds or just use a hair dryer. I used a hair dryer and I recommend it because it was easier and the lippie could be melt in the compartment straight away.
STEP 4: Leave it to dry
It only took several minutes to dry.
STEP 5: Transfer pigments into each compartment
Voila, my own eye & lip palette!
Now, should I put my own branding sticker on the cover? ;-)
*keywords: what to do with broken lipstick, eye & lip palette diy, diy make up stuff, lipstick patah, tutorial, makeup tutorial


Wahhhh...
ReplyDeleteKreatif and inovatif!!
Rasa mcm lipstik x rosak pun nak buat camni.. senang bw sekali.. :)
haah betul...letak sume kaler lipstick dalam 1 bekas. very portable & senang :-)
ReplyDelete